Reviewed by the Armrock Constructions team — 450+ bathroom renovations completed across the Gold Coast
Quick answer: An LED niche is a recessed, tiled wall shelf with a built-in strip light that adds soft lighting and storage without bulky caddies. It is built between the wall studs, waterproofed to AS 3740, tiled to match or contrast with the wall, and wired with a low-voltage, wet-area-rated LED strip by a licensed electrician.
Shower caddies collect soap scum, hang awkwardly and break up the clean lines of a new bathroom. That’s why the LED niche has become one of the most requested features in bathroom renovations on the Gold Coast. It stores everyday products and doubles as a lighting feature, so the room looks considered even at night. This guide covers five LED niche styles we build, how they’re constructed and made safe, and what to decide before you start.
What is an LED niche?
A niche is a recess built into the wall between two studs, replacing a shelf that sticks out into the room. An LED niche adds a light strip along the top, underside or back edge, so the recess glows.
The recess is tiled in the same tile as the wall, or in a contrasting feature tile, so the lighting reads as part of the architecture rather than an add-on. Depth is set by the wall frame, typically 70 to 90 mm, and width is set by stud spacing, usually 450 or 600 mm centres.
Five LED niche styles we build on the Gold Coast
1. The long linear shower niche
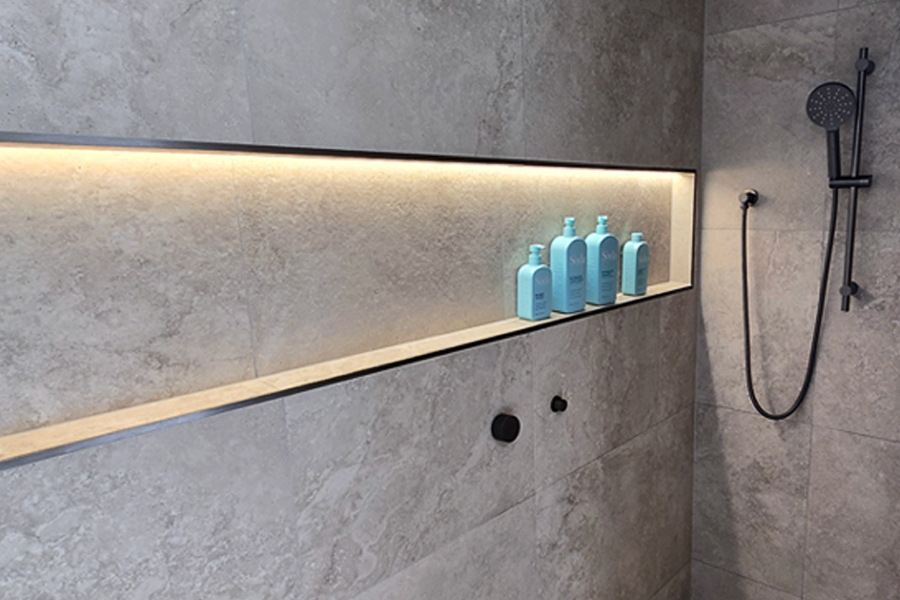
A wide recess runs across the shower wall, tiled in the wall tile with the LED strip concealed along the top edge. The tile continues straight into the recess, so the shelf looks like a slot cut into one continuous surface. This style suits walk-in showers with frameless shower screens, where the glow is visible from the bathroom.
2. The tile-matched niche above the bath
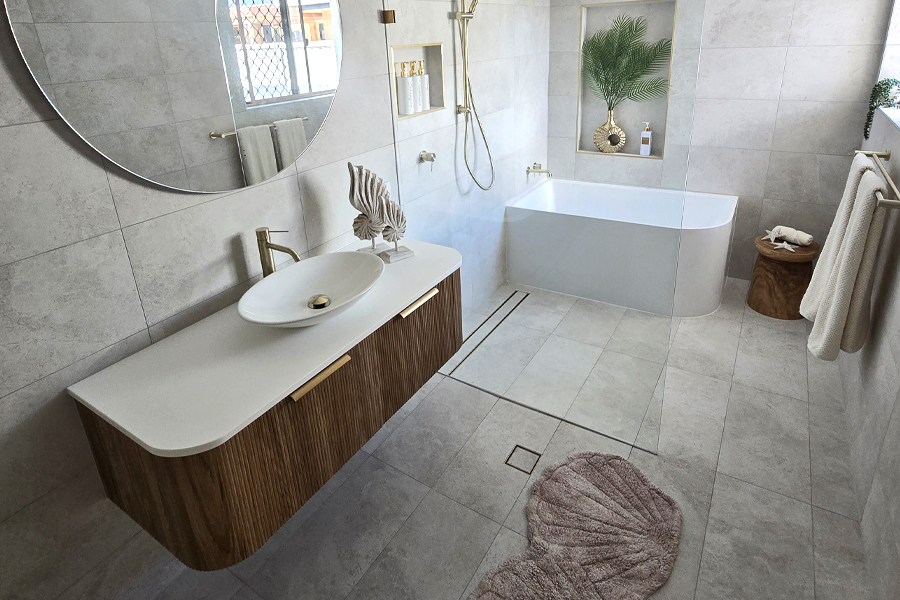
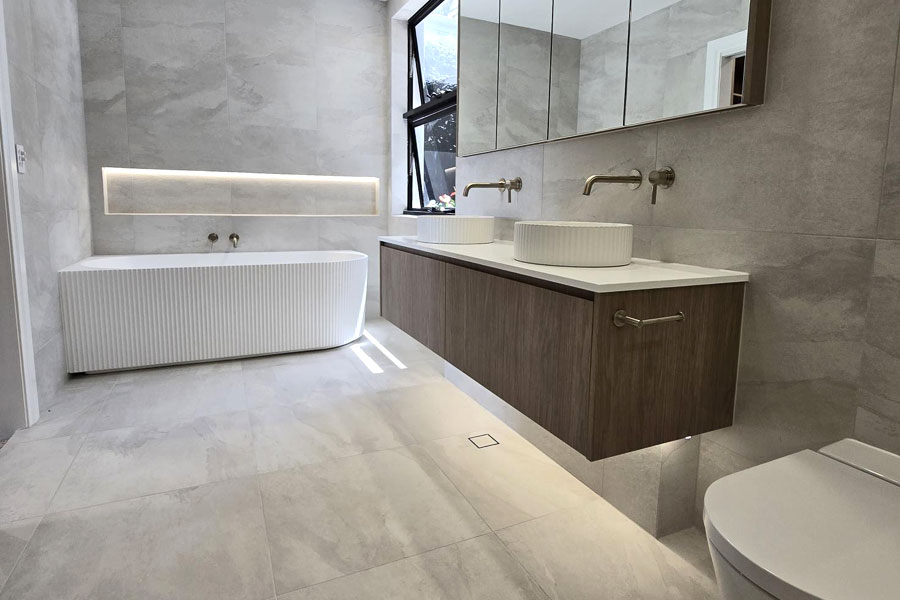
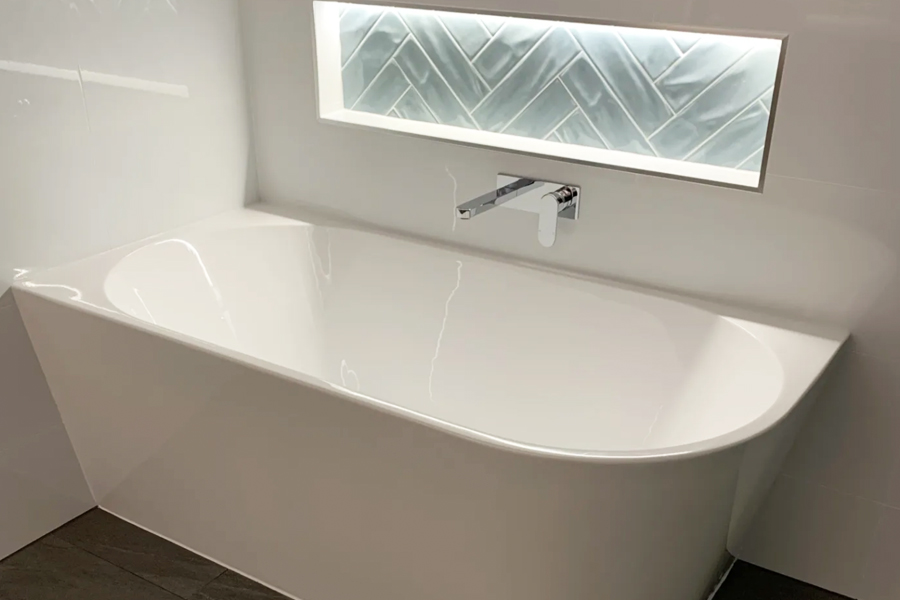
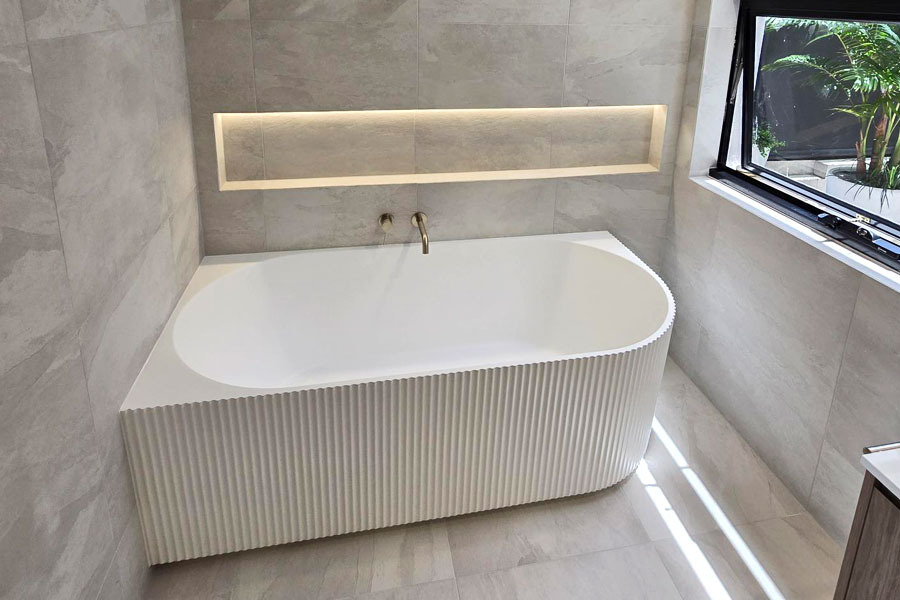
A long, shallow niche set above a bath holds candles, oils and a plant, and gives a bathtub wall a focal point. Tiled in the surrounding wall tile with the light along the top, the glow washes down the wall behind the tapware. If you’re weighing up whether to include a bath, read our guide on whether a bathroom should have a bathtub.
3. The herringbone feature niche
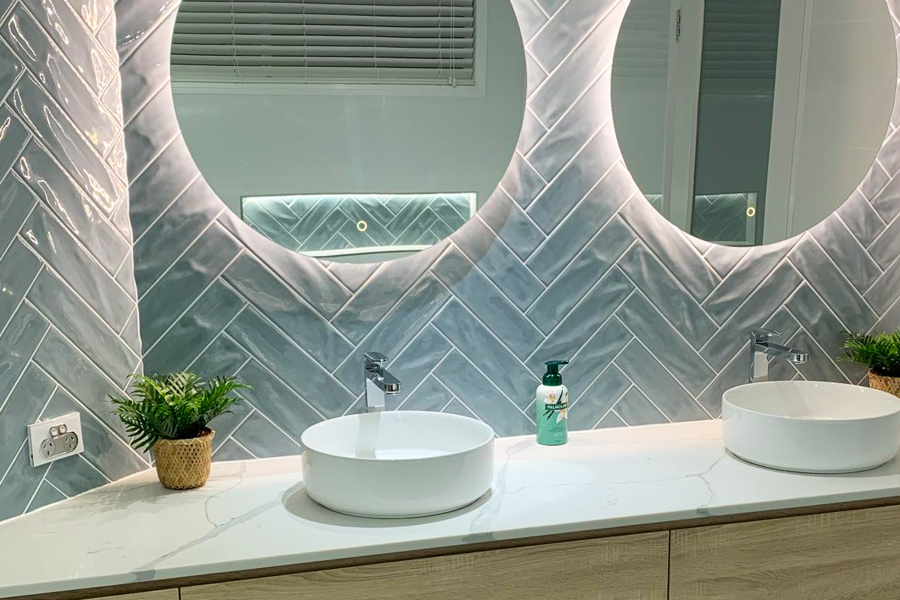
A contrasting tile inside the recess turns the niche into a feature wall. A gloss herringbone tile catches the LED light and glows, while the surrounding wall stays quiet. Our guide to herringbone tiles in bathroom renovations covers layout, grout and tile choices for this look.
4. The framed accent niche
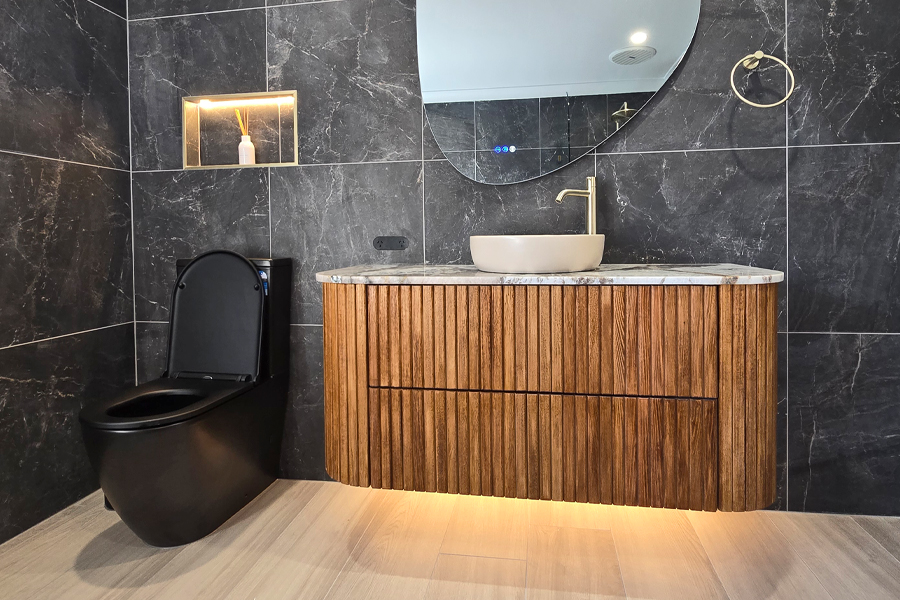
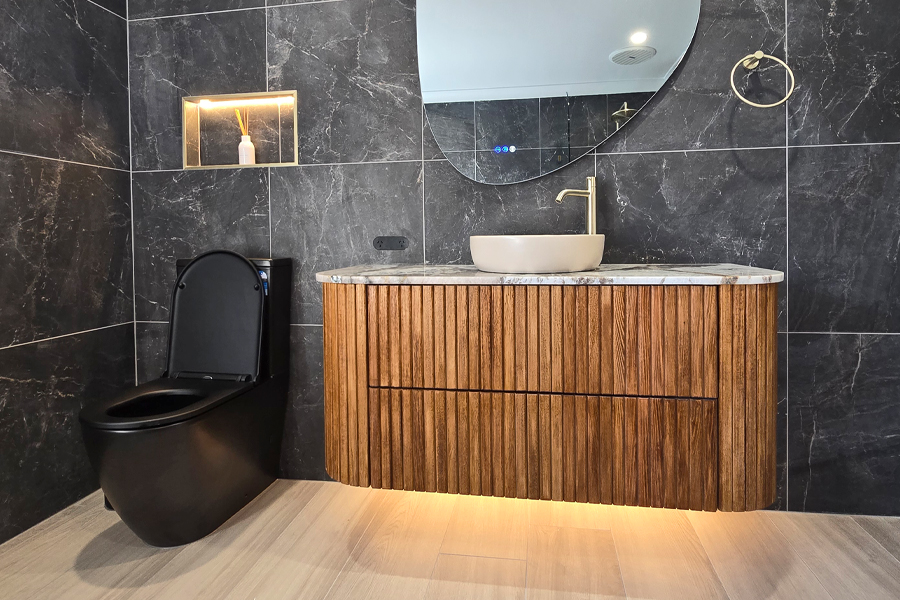
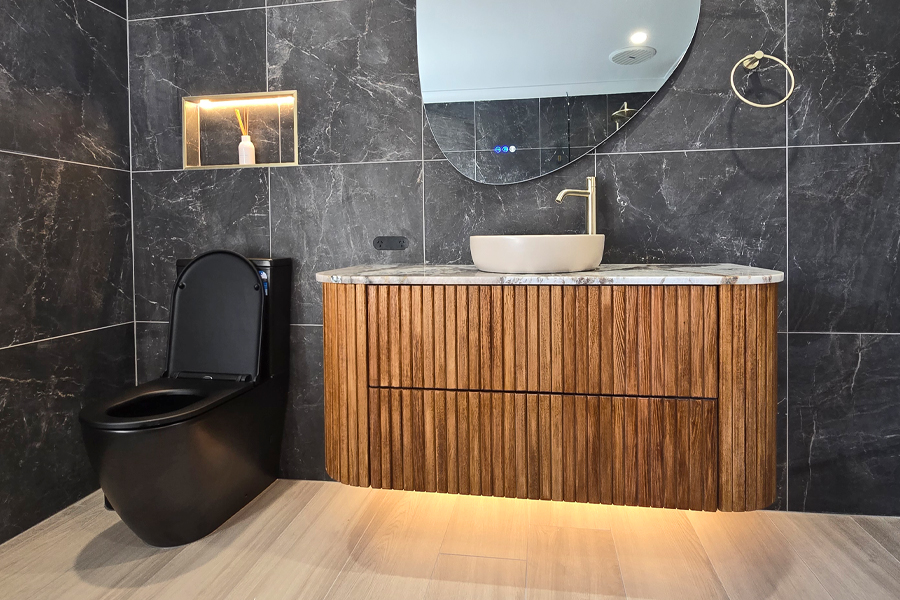
Not every niche belongs in the shower. A small recess beside the vanity or toilet, framed in a metal trim, works as a display shelf for a diffuser or a vase. In a dark marble-look tile wall, a brass-toned trim and a warm strip along the top add contrast and tie in with the tapware. It’s a common feature in our luxury bathroom renovations.
5. The slim-shelf shower niche
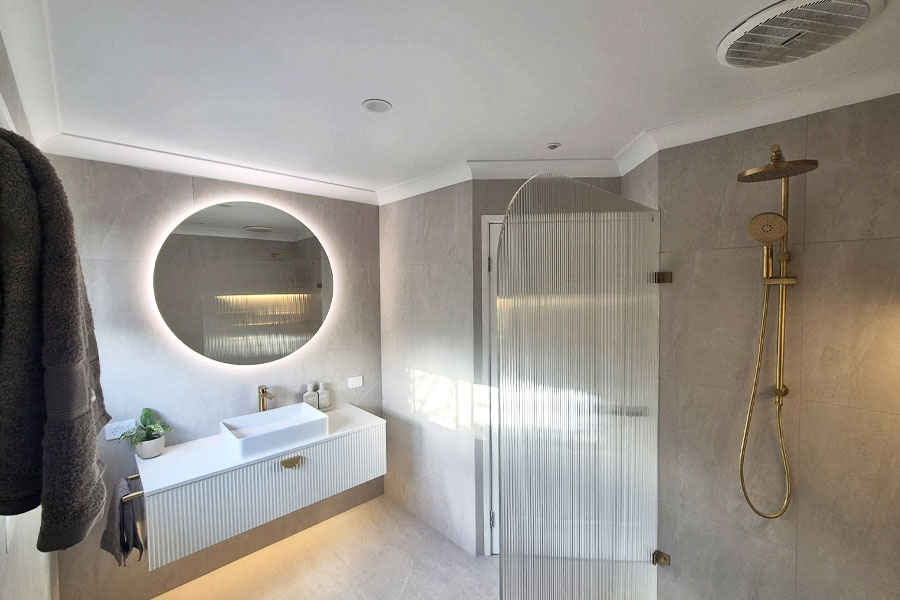
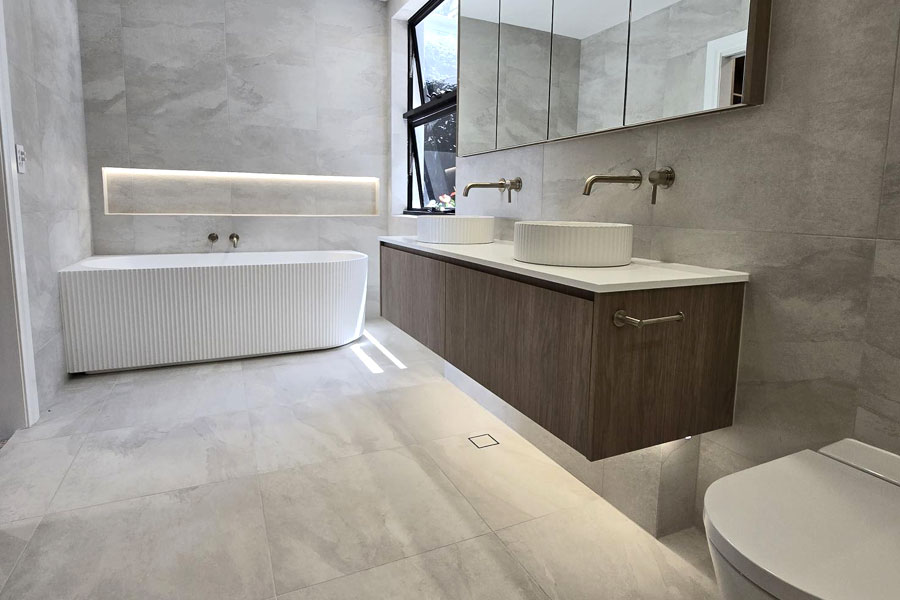
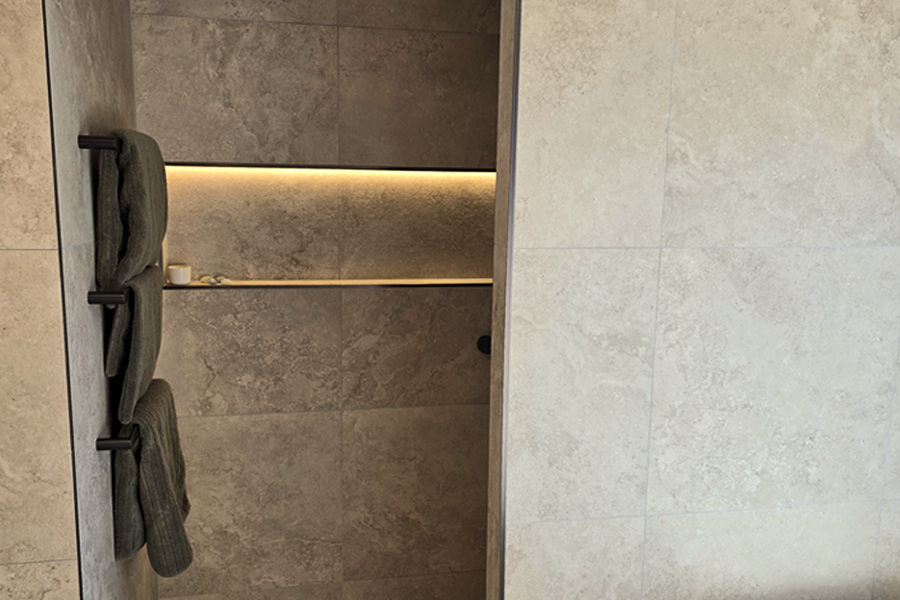
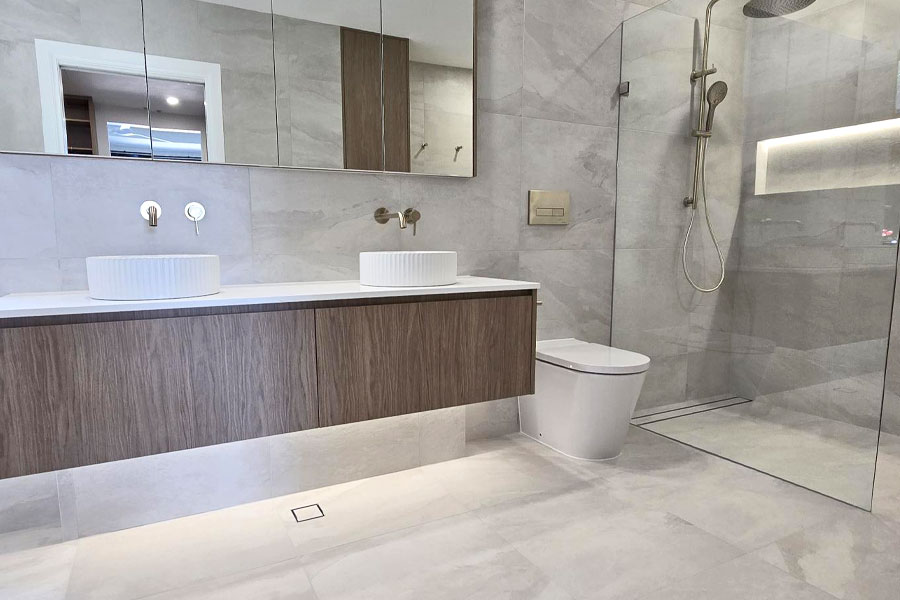
A thin shelf, with the light tucked above it, keeps the niche discreet. Tiled in the same large-format stone-look tile as the wall, it sits cleanly beside features like a heated towel rail. Because the shelf is slim, bottles stand on a single clear line rather than in a deep box.
Why homeowners choose an LED niche
- Storage without clutter. Bottles sit inside the wall line, so nothing hangs from the tapware or crowds the shower floor.
- Fewer surfaces to clean. A tiled recess has no moving parts, and a niche tiled in the wall tile adds almost no extra grout lines.
- Usable light at night. A dimmable warm strip gives enough light for a late shower or bath without the glare of the main downlights.
- A built-in feature wall. The glow turns a plain tiled wall into a focal point, which suits modern bathroom style and minimalist bathroom design.
Where to place the LED strip and what colour to choose
There are three common positions:
- Top edge. The light washes down across the back tile and highlights its texture. This is the most popular position because the strip is hidden from the line of sight.
- Under the shelf edge. If the niche has a horizontal shelf, a strip under its front edge lights the items below.
- Perimeter. A strip around the full edge outlines the niche as a feature. It looks striking but uses more strip and more wiring.
Warm white (2700K to 3000K) is the standard choice for bathrooms because it flatters tile and skin tones. Neutral white (4000K) suits a task-focused look but can feel cold in a shower. A dimmer on a separate switch lets you lower the light in the evening.
Match the niche with lighting under the vanity
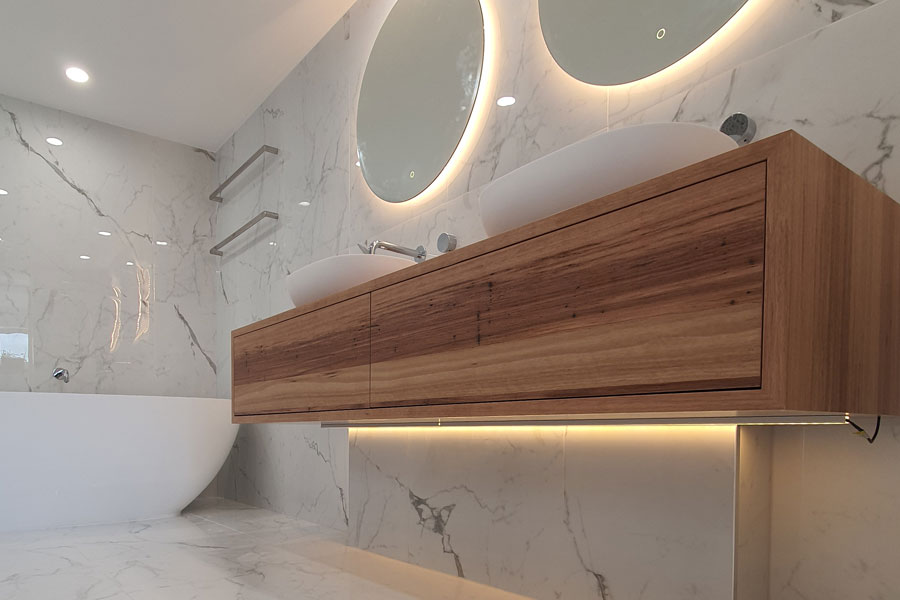
The same strip lighting works at floor level. A floating vanity with a concealed LED strip under its base casts a soft glow across the floor, which doubles as a night light and makes the vanity appear to float. It pairs naturally with a niche glowing at eye level.
Floating units suit this treatment best because there’s a gap beneath them for the light. Our vanities page shows the range we build, and our comparison of freestanding and floating vanities explains which suits your layout. If you want the lighting integrated into custom joinery, our cabinetry team can build it into the design.
How an LED niche is built
Because the niche sits inside the wall, it has to be planned before any tile goes up. The sequence on an Armrock job runs like this:
- Plan the position. The niche location is set during design so the recess lines up with the studs and avoids plumbing in the wall.
- Frame the recess. Our carpentry team forms the opening between studs, with a sloped base so water drains out instead of pooling.
- Run the wiring. The electrician runs low-voltage cable to the niche and the driver location before the wall is lined.
- Waterproof. A licensed waterproofer applies the membrane across the whole niche and ties it into the shower’s waterproofing.
- Tile. The tiler lays the niche with a slight fall towards the shower, then finishes the edges with a trim or mitred joint.
- Install the LED strip. The strip goes into an aluminium channel with a diffuser, fitted after tiling, then is connected to the driver.
- Test and commission. The electrician tests the circuit and the lighting, and the niche is checked for water tightness before the screen goes in.
Waterproofing and electrical work in the same small recess is where problems arise if trades don’t coordinate. Having one team manage all of them is what keeps the details tight.
Safety and compliance: what the rules require
Putting lighting inside a wet area means safety rules apply:
- Licensed electrician only. In Queensland, fixed wiring must be installed by a licensed electrician. Our electrical service coordinates this within your renovation.
- Wet-area-rated strip. LED strip and channel rated IP65 or higher is standard practice in showers. IP65 means the product is dust-tight and protected against water jets.
- Low voltage. Strips run on 12V or 24V DC. The driver that converts mains power is installed outside the wet area, typically in the ceiling space or a vanity cabinet, and stays accessible for maintenance.
- Waterproofing to AS 3740. Australian Standard AS 3740 covers waterproofing of domestic wet areas, and the niche must be waterproofed as part of the shower, not as an afterthought.
- Wiring to AS/NZS 3000. The Wiring Rules set how cable and fittings are installed in bathrooms.
If you’re renovating an apartment, our guide to waterproofing in high-rise bathrooms explains the extra checks that apply.
Tile and finish choices
The tile you choose decides how the niche reads:
- Matching large-format tile makes the niche blend into the wall, so the light appears to come from nowhere. Fewer grout lines also mean less to clean.
- Contrasting feature tile inside the recess makes the niche a feature wall. A textured, stone-look or glossy tile catches the LED glow best.
- Edge trims in matte black, brushed brass, brushed nickel or chrome can be chosen to match your tapware and shower fittings, or left out for a flush finish.
Our tiling team can show you samples under the same colour temperature you’ll use in the niche, because tile can look quite different under warm and neutral light. An LED niche also pairs well with round mirrors and backlit mirrors, which carry the glow across the room.
LED niches in small bathrooms, ensuites and apartments
A niche is one of the most space-efficient storage options you can add. It takes up no floor or wall space beyond the wall thickness, so it suits small bathroom renovations, where a protruding shelf can feel cramped. The same applies to an ensuite renovation, where a single niche can hold everything the shower needs.
In apartments, wall construction matters. Walls may be masonry or party walls that cannot be cut into, so the niche position needs checking against the building’s rules before work starts. Our pages on apartment bathroom renovations and high-rise bathroom renovations explain what to check.
Planning your niche: size, height and position
A few decisions are worth making early:
- Size. Most shampoo and body wash bottles are 200 to 250 mm tall, so an opening height of about 300 mm suits a single shelf. Long, shallow niches above a bath can be slimmer.
- Height. In a shower, set it at a comfortable reach, below shoulder height, so you aren’t lifting your arms to reach products.
- Position. Keep it away from the direct spray of the shower head so products and the LED channel see less water.
- Number of niches. One large niche is usually cleaner than several small ones. Two heights suit shared bathrooms.
The cost depends on the size, tile and lighting specification, and whether the wall contains plumbing that needs moving. It appears as a line item in your written quote after a free on-site appraisal. Browse our bathroom renovation gallery for completed niches.
Frequently asked questions
Yes, when the strip, channel and driver are rated for wet areas and installed by a licensed electrician. Strips rated IP65 or higher, run on low-voltage 12V or 24V DC with the driver outside the wet area, are standard practice.
Depth is set by the wall frame, typically 70 to 90 mm. Most niches use the full stud depth so bottles sit upright and stable.
It is possible, but it usually means opening the wall, re-waterproofing the shower and re-tiling. Most homeowners add a niche as part of a renovation so the work is done once and waterproofed properly.
Warm white (2700K to 3000K) suits most bathrooms because it flatters tile and skin tones. Choose a dimmable strip so you can lower the light at night.
Often, yes, but wall construction and building by-laws need checking first. Our free appraisal and quote covers this on site before we price the job.
Ready to light up your bathroom?
If you’re planning a bathroom renovation on the Gold Coast, an LED niche is one of the simplest features to design in from the start. Speak to the Armrock Constructions team about bathroom renovations on the Gold Coast, and we’ll manage every trade from waterproofing to the final light switch.